On the Bleeding Edge - PySpark, DataFrames, and Cassandra
A few months ago I wrote a post on Getting Started with Cassandra and Spark.
I’ve worked with Pandas for some small personal projects and found it very useful. The key feature is the data frame, which comes from R. Data Frames are new in Spark 1.3 and was covered in this blog post. Till now I’ve had to write Scala in order to use Spark. This has resulted in me spending a lot of time looking for libraries that would normally take me less than a second to recall the proper Python library (JSON being an example) since I don’t know Scala very well.
Requirements
We’ll be working with open source Cassandra but this walkthrough will also work with DataStax Enterprise. DSE includes Spark, but if you should want to try a bleeding edge version you’ll have to set it up yourself. I’ll assume you have either open source Cassandra or DSE running already.
To follow along, let’s set up some sample data:
cqlsh> create KEYSPACE tutorial WITH replication =
      {'class': 'SimpleStrategy', 'replication_factor': 1};
cqlsh> use tutorial ;
cqlsh:tutorial> create TABLE user ( user_id int, name text, age int, \
                                    primary key(user_id));
cqlsh:tutorial> insert into user (user_id, name, age) values (1, 'jon', 33);
cqlsh:tutorial> insert into user (user_id, name, age) values (2, 'old pete', 108);
cqlsh:tutorial> insert into user (user_id, name, age) values (3, 'luke', 33);
cqlsh:tutorial> insert into user (user_id, name, age) values (4, 'stinky bob', 42);
Step 1: Download Spark
You can grab any of the latest Spark 1.3.1 releases. They’re prebuilt for a bunch of different Hadoop versions but it won’t make a difference which one you get since we won’t be using Hadoop. Grab it, untar it, and put it somewhere for safe keeping. I keep my stuff in /usr/local. Make sure the spark bin directory is in your PATH.
Step 2: Set up spark standalone
Technically this doesn’t require Spark Standalone but I found it useful to start it up and get familiar with the web UI. I’m going to set up the Spark master to listen on the local IP, this is optional, but makes life easier. You can fire up a Spark master by cd’ing into the spark directory and then doing the following:
$ export SPARK_MASTER_IP=127.0.0.1
$ ./sbin/start-master.sh
Now you can start up a single set of workers. It’ll start in the foreground:
$ ./bin/spark-class org.apache.spark.deploy.worker.Worker spark://127.0.0.1:7077
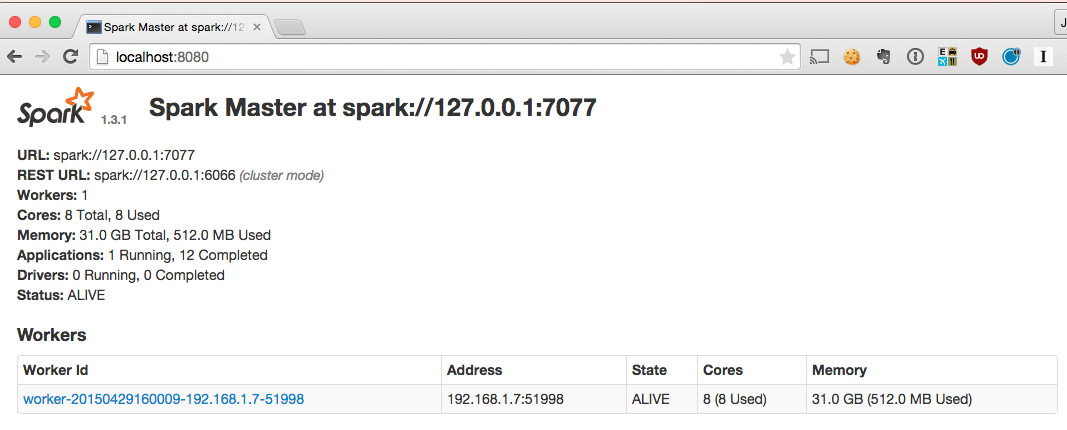
Verify that you’re up and running by visiting http://localhost:8080/. You should see something like this:
Step 3: Grab the PySpark Cassandra library.
The library is here TargetHolding’s GitHub. Clone it off GitHub, and as per the instructions, build it:
$ make dist
Step 4: Start pyspark shell
I set up a little script pys to start the spark shell. First you’ll need to set the PYSPARK_ROOT variable to wherever your pyspark directory is.
PYSPARK_ROOT=/Users/jhaddad/dev/pyspark-cassandra/target
Place the below script in a file called pys. I recommend using a virtualenv and installing iPython, but it’s not required. If you don’t want to use iPython, omit the IPYTHON=1 part. script.
IPYTHON=1 pyspark \
    --jars ${PYSPARK_ROOT}/pyspark_cassandra-0.1.3.jar  \
    --driver-class-path ${PYSPARK_ROOT}/pyspark_cassandra-0.1.3.jar \
    --py-files ${PYSPARK_ROOT}/pyspark_cassandra-0.1.3-py2.7.egg \
    --conf spark.cassandra.connection.host=127.0.0.1 \
    --master spark://127.0.0.1:7077
You can now start pyspark with the following command:
./pys
Step 5: Import the library and work with your data
You’ll need to import the pyspark_cassandra library in order to use Cassandra. You can see how easy it is to load a Cassandra table and start working with it as a DataFrame.
In [1]: import pyspark_cassandra
In [2]: user = sc.cassandraTable("tutorial", "user").toDF()
In [3]: user[user.age > 40].collect()
Out[3]:
[Row(age=108, user_id=2, name=u'old pete'),
 Row(age=42, user_id=4, name=u'stinky bob')]
You can even take a DataFrame and register it as a table and query it with SQL:
In [11]: from pyspark.sql import SQLContext
In [12]: sql = SQLContext(sc)
In [13]: sql.registerDataFrameAsTable(user, "user")
In [14]: sql.sql("select * from user where age = 33").collect()
Out[14]: [Row(age=33, user_id=1, name=u'jon'), Row(age=33, user_id=3, name=u'luke')]
Well, there you have it. We’ve only just gotten started. DataFrames are incredibly powerful, and the flexibility of SQL gives us a lot of freedom as developers. Check out the Spark DataFrames documentation to learn more about what you can do.
If you found this post helpful, please consider sharing to your network. I'm also available to help you be successful with your distributed systems! Please reach out if you're interested in working with me, and I'll be happy to schedule a free one-hour consultation.